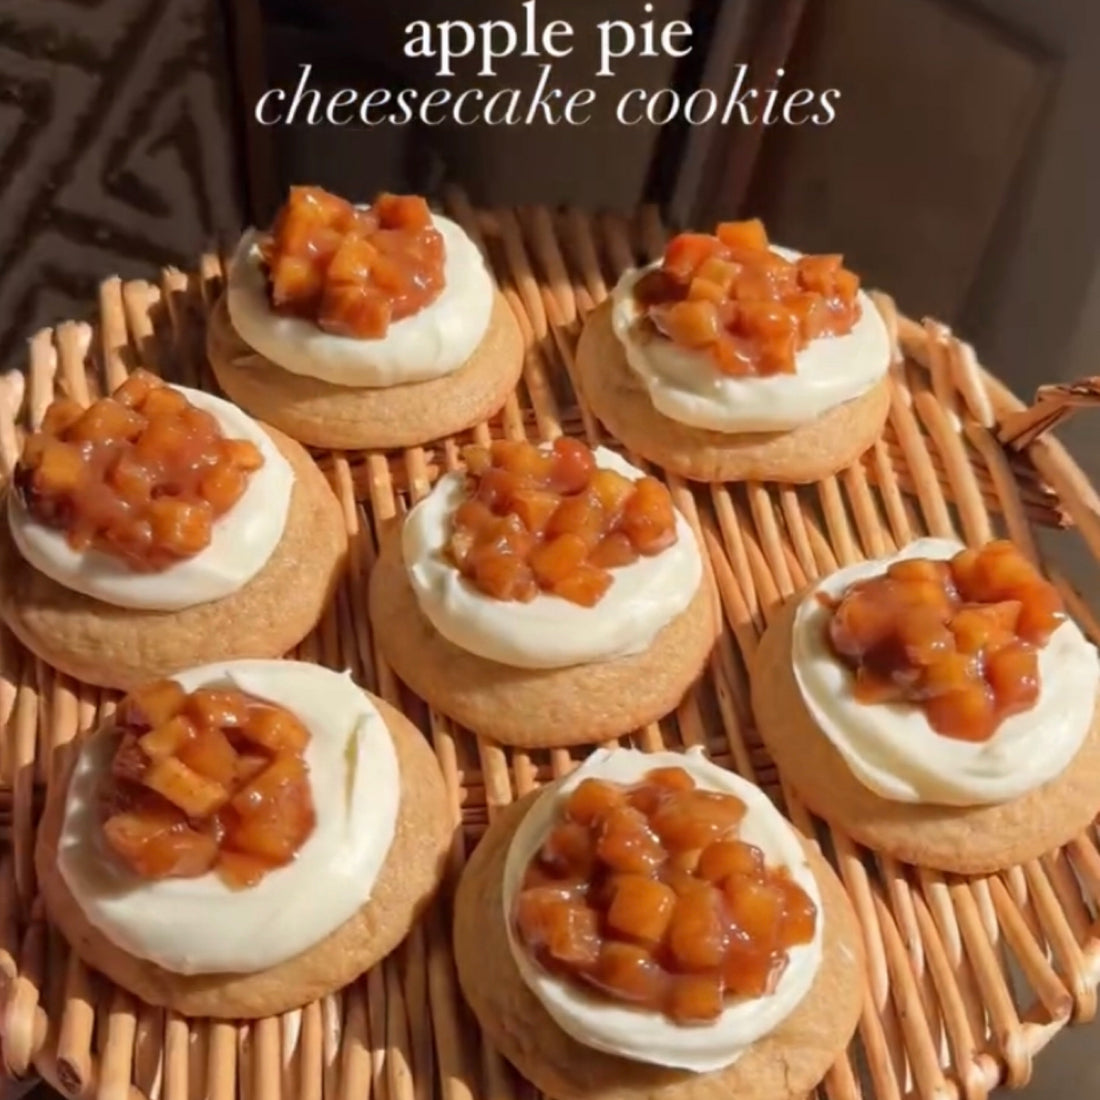
Apple Pie Cheesecake Cookies
Ingredients
Brown Sugar Cookies
- 90 g unsalted butter room temperature (6 ⅓ tbsp.)
- 150 g light brown sugar (¾ c.)
- 1 egg room temperature
- 1 tsp. vanilla
- 160 g all purpose flour (1 ⅓ c.)
- 1 tsp. ground cinnamon
- 1 tsp. baking powder
- ½ tsp. salt
Cheesecake Frosting
- 100 g cream cheese room temperature (½ c.)
- 42 g unsalted butter room temperature (3 tbsp.)
- ⅛ tsp. salt
- 160 g powdered sugar (1 ⅓ c.)
- ½ tsp. vanilla
Apple Pie Filling
- 8 tbsp. apple pie filling
Instructions
Brown Sugar Cookies
-
With a hand mixer or a stand mixer fitted with the paddle attachment, beat together the butter and brown sugar until the mixture is light and fluffy (2-3 min.)
-
Beat in the egg and vanilla until well combined.
-
Add in the flour, baking powder, cinnamon and salt. Use a rubber spatula to fold the ingredients together just until no flour streaks remain.
-
Cover the dough and leave it in the fridge to chill for at least 30 minutes, or for up to 2 days.**
-
Preheat the oven to 350°F / 175°C. Line a cookie sheet with parchment paper or with a silicone baking mat.
-
Use a 3 tbsp. cookie scoop to dish out the cookies onto the prepared cookie sheet. Evenly space the cookies apart to allow room for spreading. Bake for 10-12 minutes, until the sides of the cookies start to turn golden brown.
-
Immediately after taking the cookies out of the oven, take a bowl that is slightly larger than the cookies and swirl it around over the cookies to make them a little more uniform and circular.
Cheesecake Frosting
-
In a small bowl, beat together the cream cheese, butter and salt until smooth.
-
Add in the powdered sugar and mix until the mixture is smooth and free of lumps. Then, mix in the vanilla.
-
Wait for the cookies to cool down to room temperature before frosting. Generously frost each cookie with the cheesecake frosting, then top each cookie with 1 tbsp. of apple pie filling. Enjoy!

